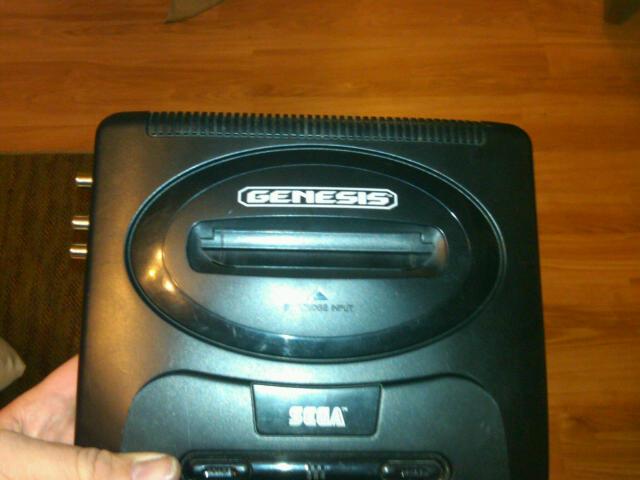
Unleash the Power of Your Sega Genesis: Adding RCA Jacks for Optimal Gaming Experience
David Ray

Have you ever struggled to find the right cable for your game console? Despite the convenience of online shopping, waiting for the cable to arrive can take a week or more. But what if you could solve this problem permanently? That's exactly what I did when I added RCA jacks to the side of my Sega Genesis Model 2.
Innovating and finding ways to simplify our lives through simple modifications is key. I highly recommend taking the time to make improvements like this, not just for game consoles, but for all the things we use regularly.
To start, I opened up the console and removed the shield covering the motherboard. The layout was straightforward. The AV jack was located on the back end of the board, near the Sony video IC. I chose to solder directly to the jack rather than the IC, as it was easier and produced the same result.


I drew out the following diagram to show what pin goes to which channel.

I used electrical tape to mark out where to drill the holes for the connectors.


Since all of the connectors shared a common ground, I soldered the connections from the jack directly to the RCA connectors. The project took around an hour and a half to complete, but the end result was well worth it.


Finally, I could connect my Sega Genesis directly to the TV using RCA cables! Thank you for going through this with me.
In conclusion, adding RCA jacks to the side of a Sega Genesis Model 2 is a straightforward project that anyone can do. The end result is a convenient and permanent solution to the problem of finding the right cable for your game console.

